A mapping is when you assign a field from one application to match with fields in another application so you can transfer data between the programs.
This arises when you have account heads to import into QuickBooks accounting software without the Transaction Pro.
This review focuses on the basic steps to execute transaction imports:
- Save the excel file you want to import
- Open the QuickBooks Chart of Accounts window. At the bottom of the Chart of Accounts window, click Account→ Import from Excel.
- Click Browse and locate the file that contains the accounts you want to import
- In the “Choose a sheet in this Excel workbook” drop-down list, select the worksheet with the data and tick
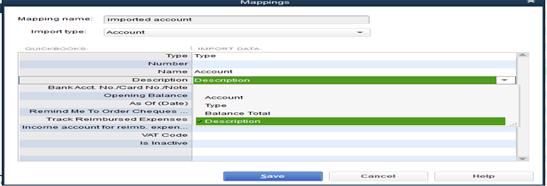
if the file has a header. - In the “Choose a mapping” drop-down list, pick < Add New >. In the Mappings dialog box that appears,
type a name in the “Mapping name” box, such as Imported Accounts. - Select the Import type i.e Account; Customer; Items etc.
- For each QuickBooks account field, click the cell in the corresponding
“Import data” column and choose the matching spreadsheet header name or column.
- Click Save to continue process
- Click on ‘Mappings….’ to open the mapping dialog box. Review your mappings, then click save.
- Click ‘Import’ to create accounts from the imported data.
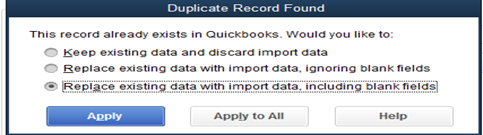
In the next box, you have the option to run a backup of your company file before import. Click yes if you don’t want to backup. When transactions are duplicated, a dialog box appears, make a selection then apply to all.
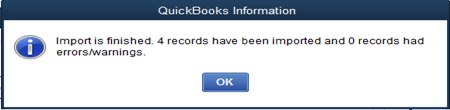
When the import is done, you’ll see a message telling you whether the import was successful as below:
Note: Account Receivable and Account Payable can be imported only with their individual accounts.
For FREE Consultation, CONNECT with us on 09092942048, 08175420054 or SEND us your request: info@magnetgroupng.com